Getting started with the setup guide
After the first run, the setup guide takes you from an empty system to a phone system that is ready for your team, in 18 short steps. Open it from System > Setup guide, or with Continue setup on the admin home page. You can stop at any time: your progress is saved for the whole company, and a colleague can continue where you stopped.
Tip: start by choosing a template (Small office, Contact centre, Hotel, Clinic or Multi-branch). The guide then skips what you do not need and starts every form with sensible defaults. Choosing a template configures nothing.
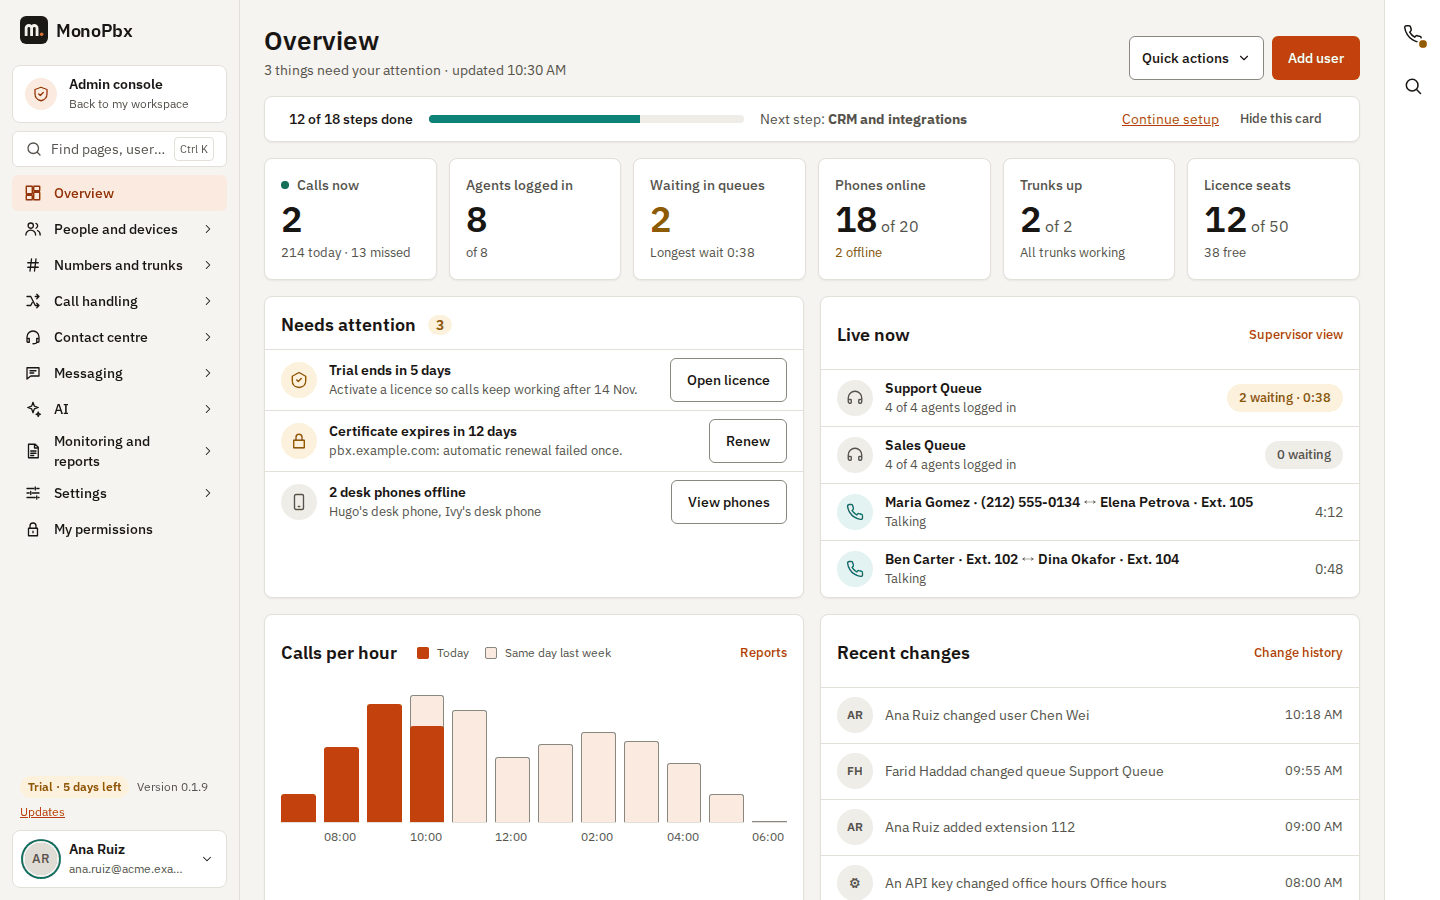
The one-line setup bar on the admin Overview shows how many steps are done and the next one.
The steps in order
| Group | Steps | What you end up with |
|---|---|---|
| The basics | 1 Licence or trial, 2 Company and region, 3 Domain and certificate, 4 Business hours and holidays | A licensed system with your country, language, currency, time zone, a reachable name with HTTPS and your opening hours and public holidays. |
| Calls in and out | 5 Trunks, 6 Phone numbers, 7 Outbound rules and dial plan, 8 Inbound routing | A carrier connection that registers, your numbers, safe outbound rules and what happens when someone calls each number. |
| People and devices | 9 Users and extensions, 10 Phones and apps, 11 SMS and channels, 12 E-mail | Everybody has an extension and a phone or the app, and the system can send messages and e-mail. |
| Extras | 13 CRM and integrations, 14 AI features, 15 Recording, storage and backups, 16 Security | Optional connections and AI, a recording policy, backups and a secure sign-in. |
| Go live | 17 Invite the team, 18 Final health check | Your team invited and a last check of every area. |
Required steps (licence, company, trunks, numbers, users and the health check) cannot be skipped; the others have Skip for now and stay in the list until you finish them.
How a step works
- Read the short text and use the ? button when you are unsure.
- Fill in the small form, or follow Open the page for the full settings.
- Press a Test button where there is one. A pass shows a check mark and a fail shows a cross with the words that say how to fix it.
- The step shows a check or a cross for its area, read from your own settings, then press Save and continue or Mark as done.
The last step: the health check
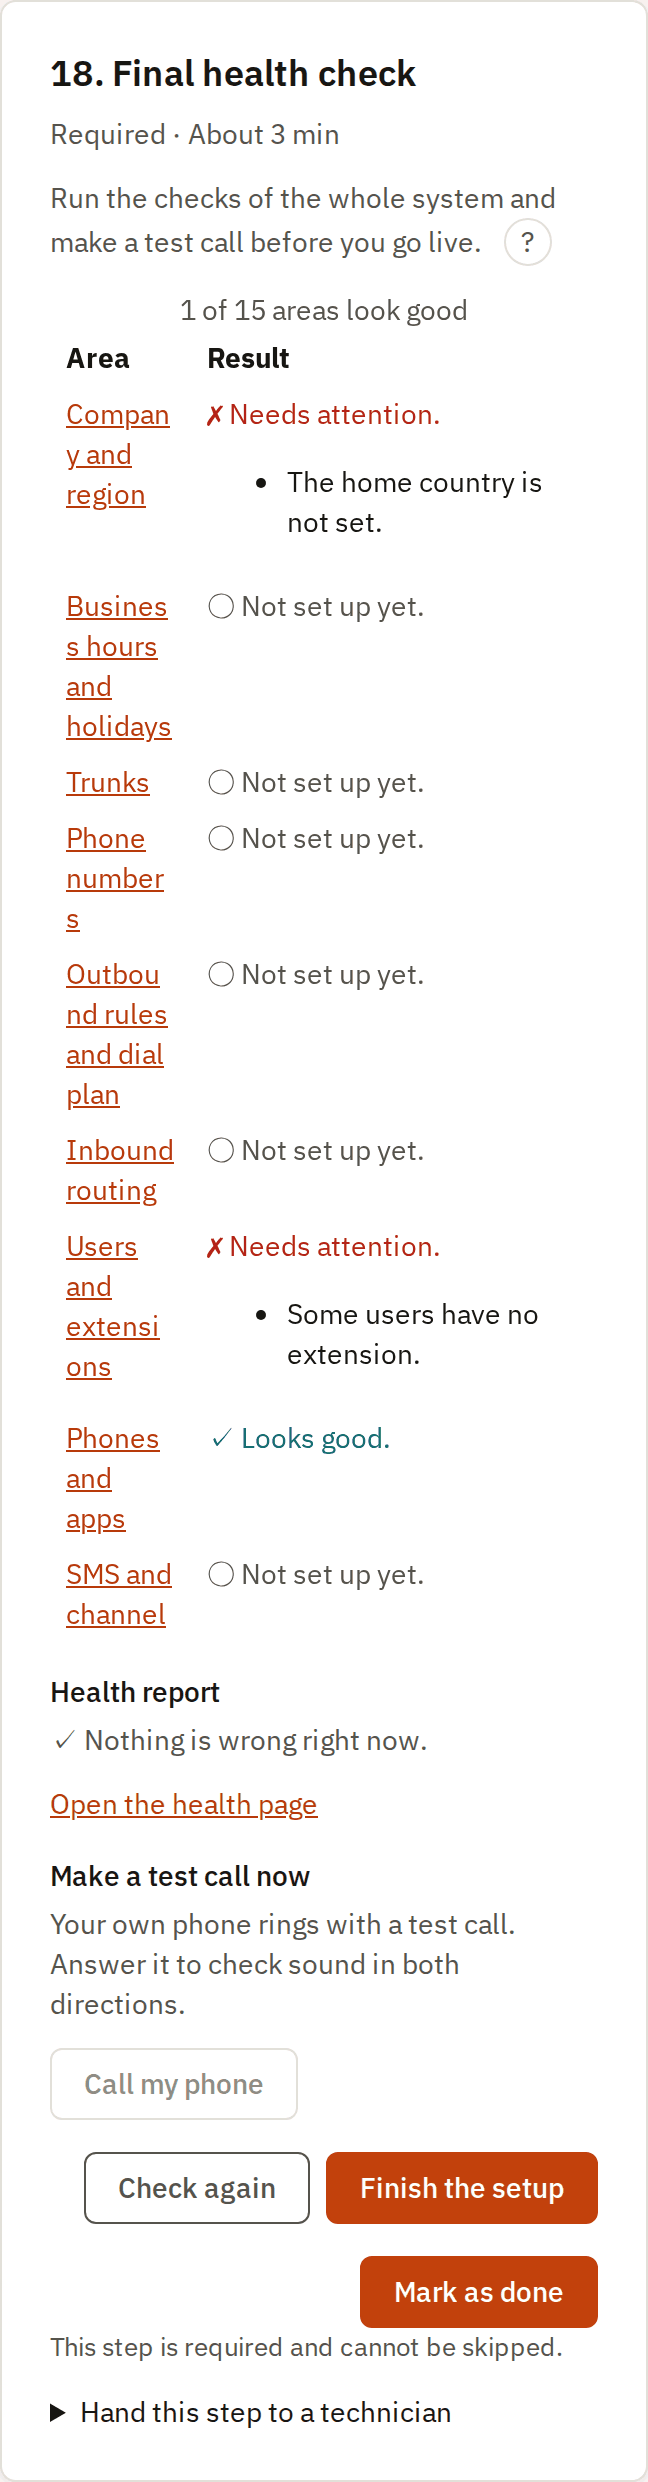
Step 18 shows a check or a cross for every area, the company health report, a list of the steps you skipped (with a link to each) and Make a test call now. When everything required is done the setup bar disappears.
Every step in pictures
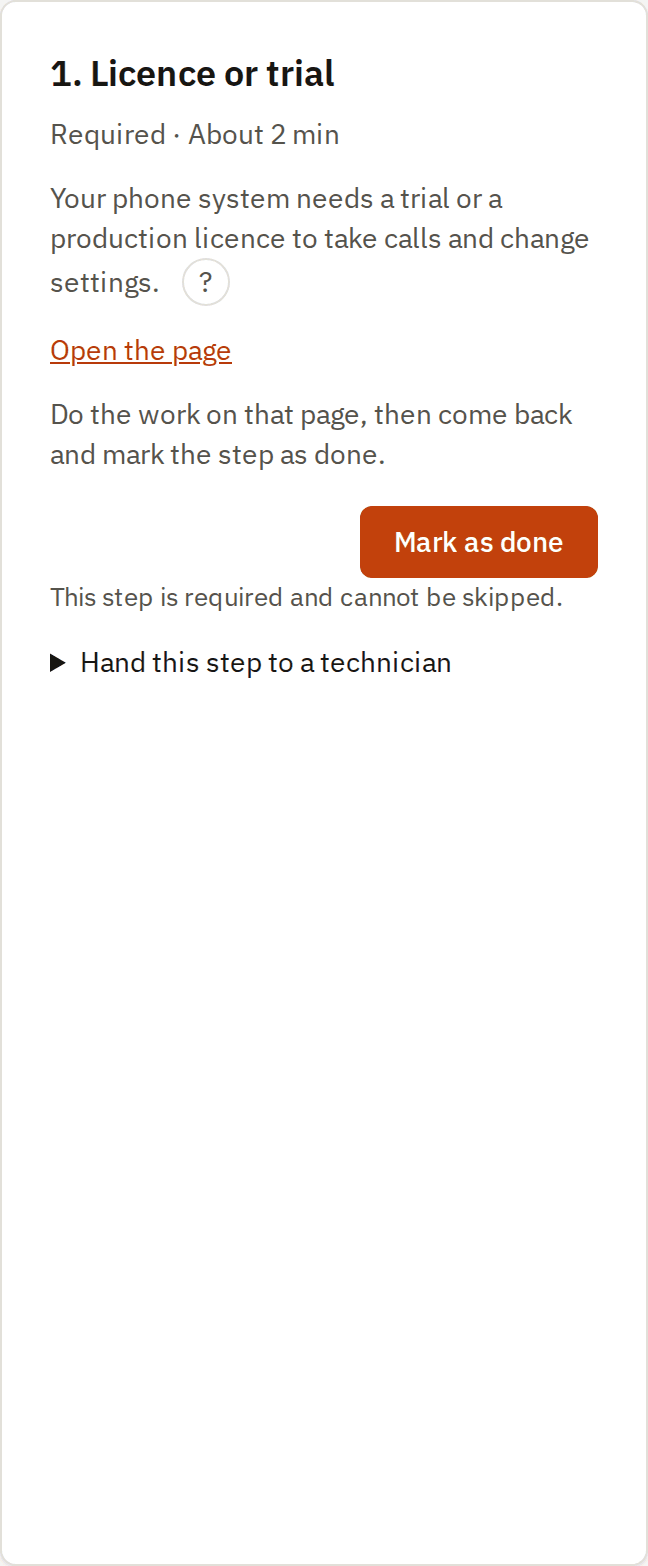
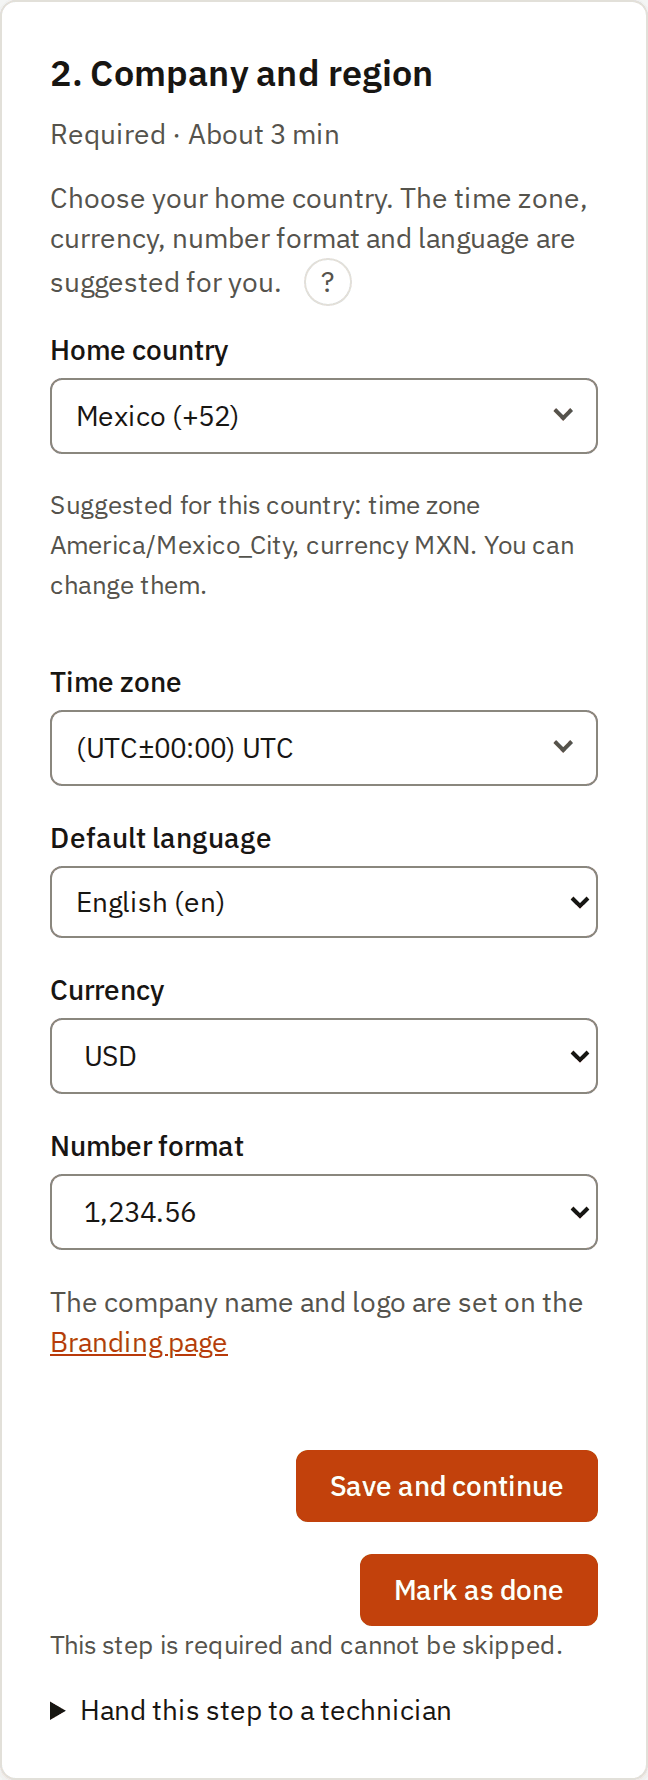
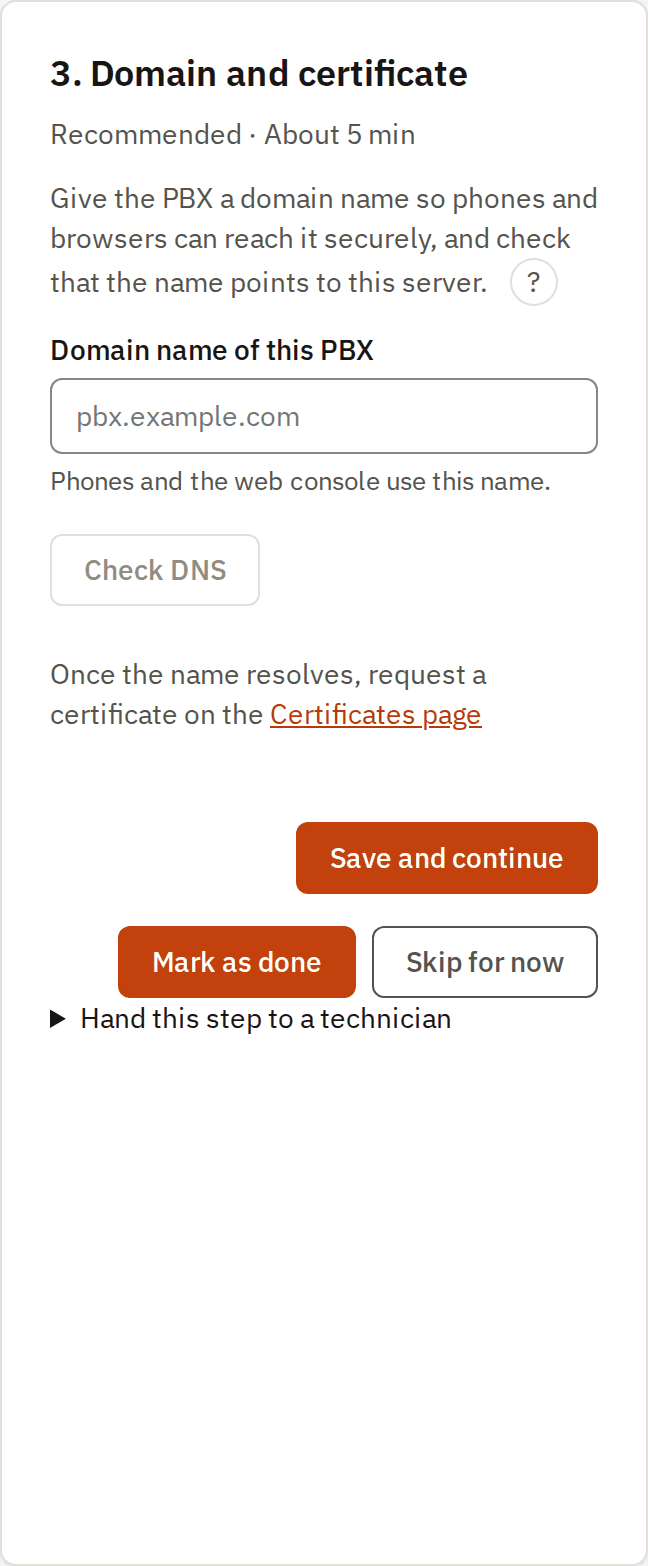
The pictures show each step as it looks on a new installation, before anything is filled in.
1. Licence or trial
2. Company and region
3. Domain and certificate
4. Business hours and holidays
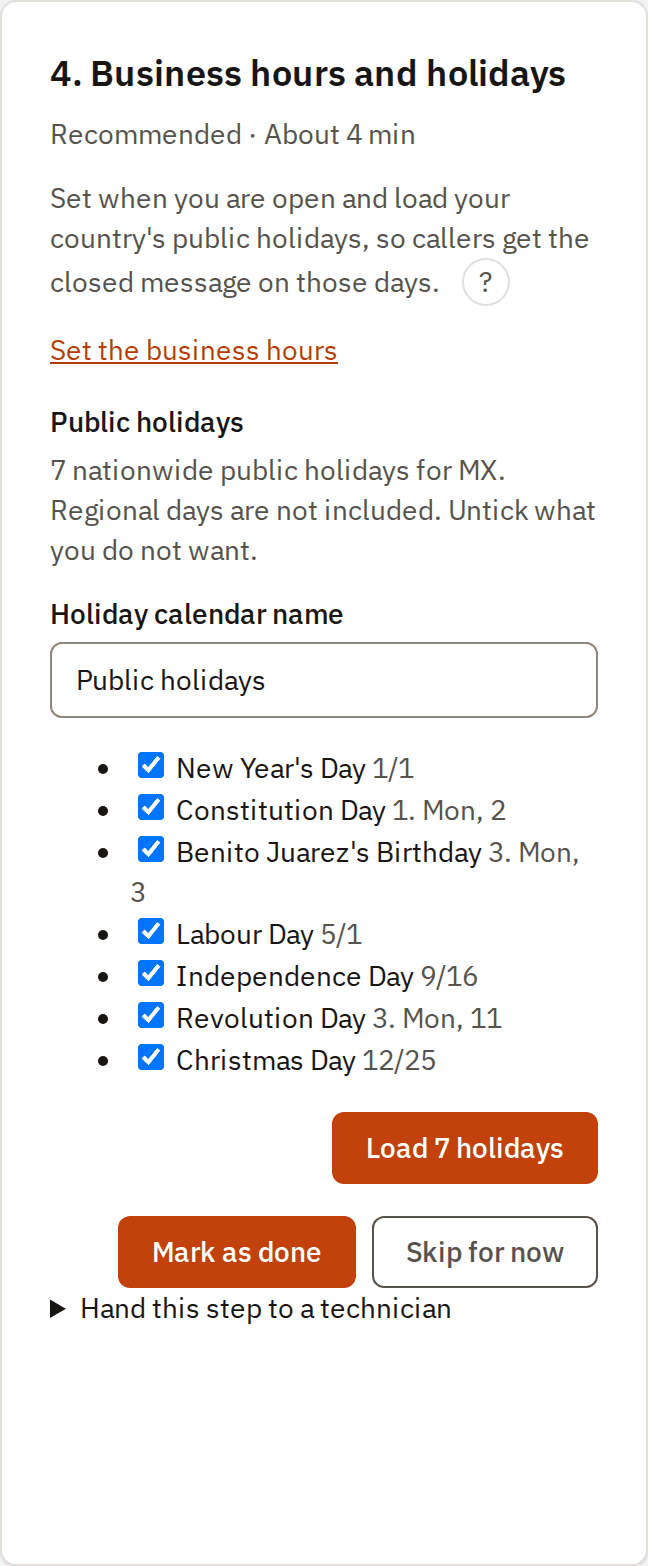
5. Trunks
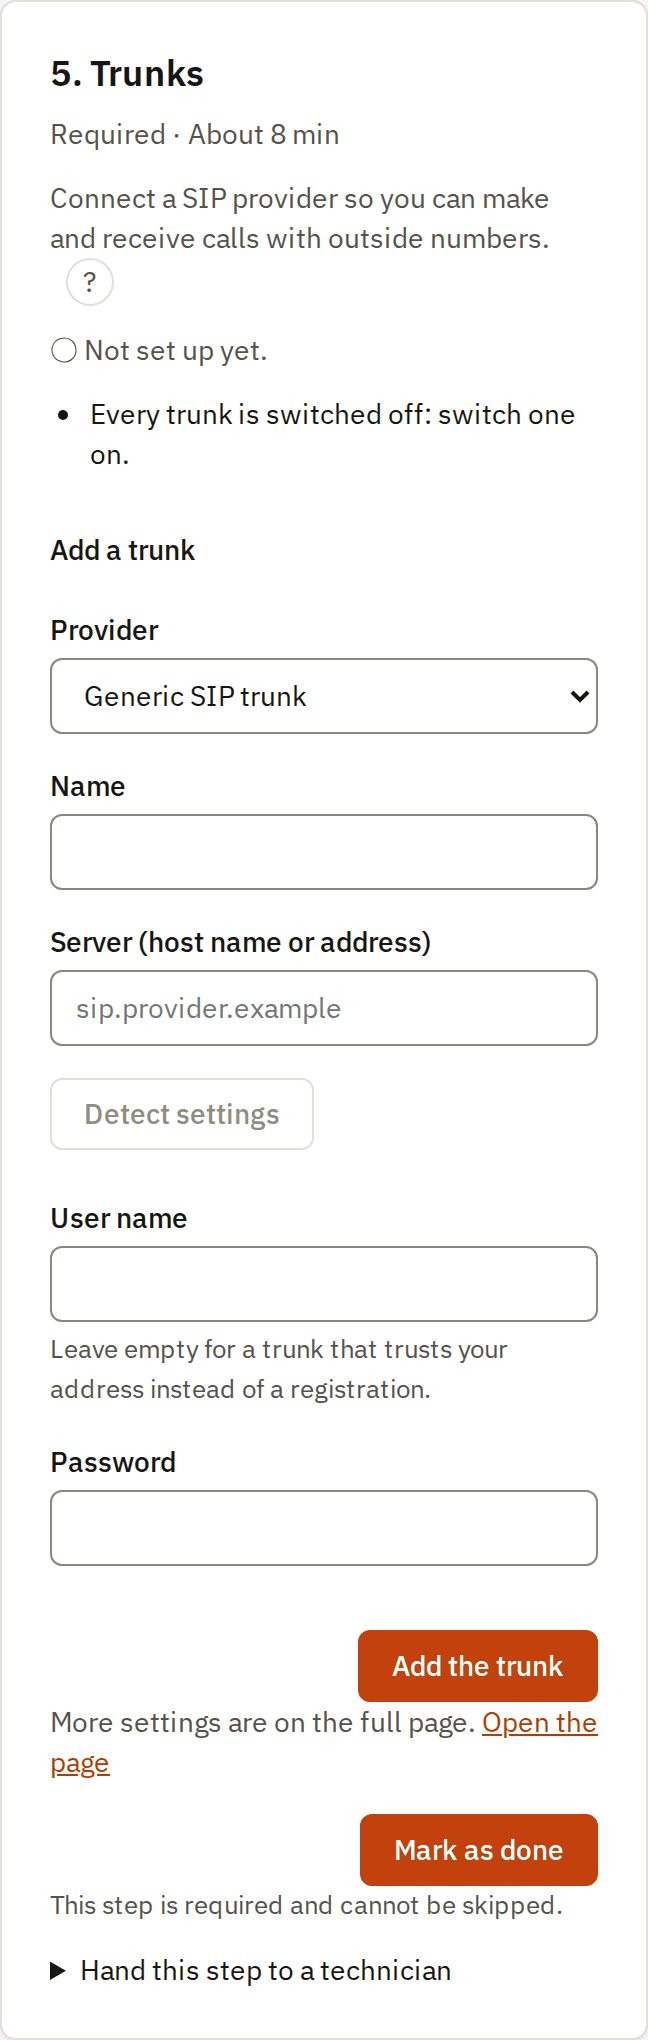
6. Phone numbers
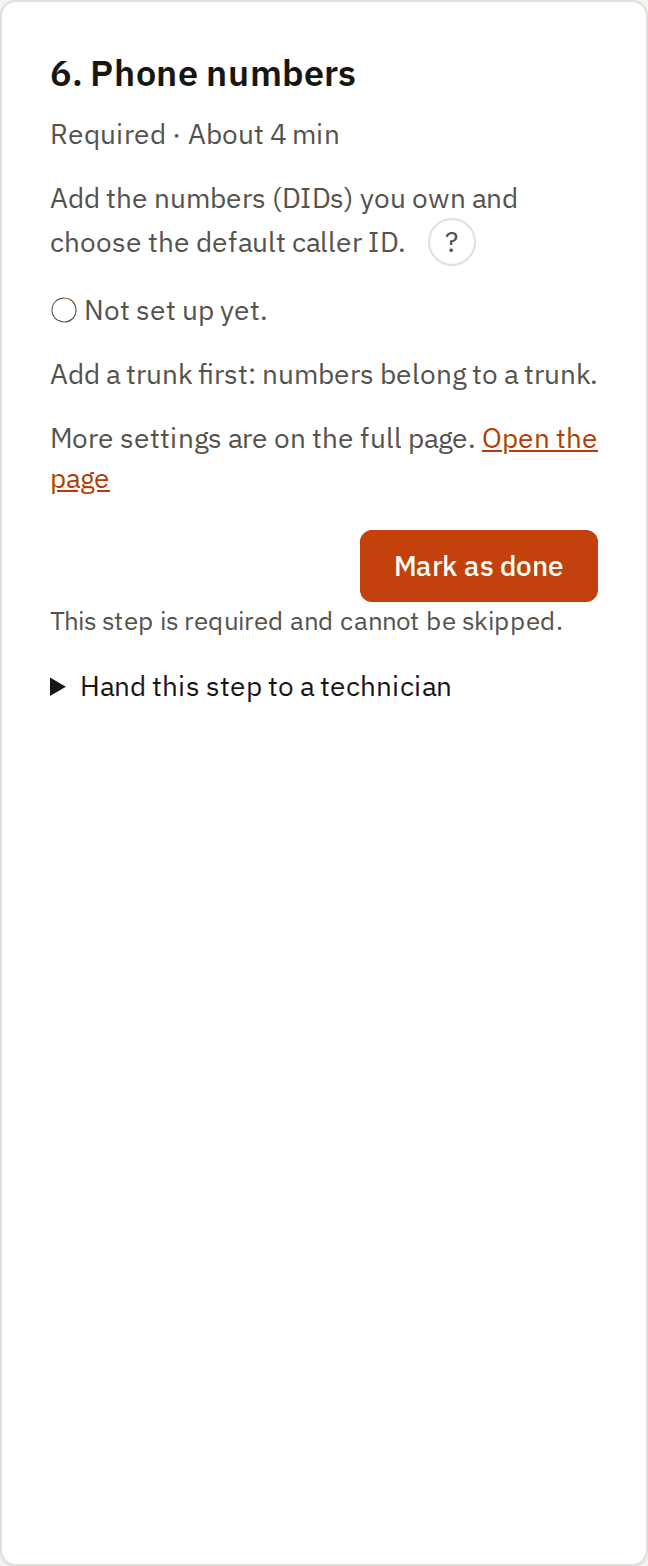
7. Outbound rules and dial plan
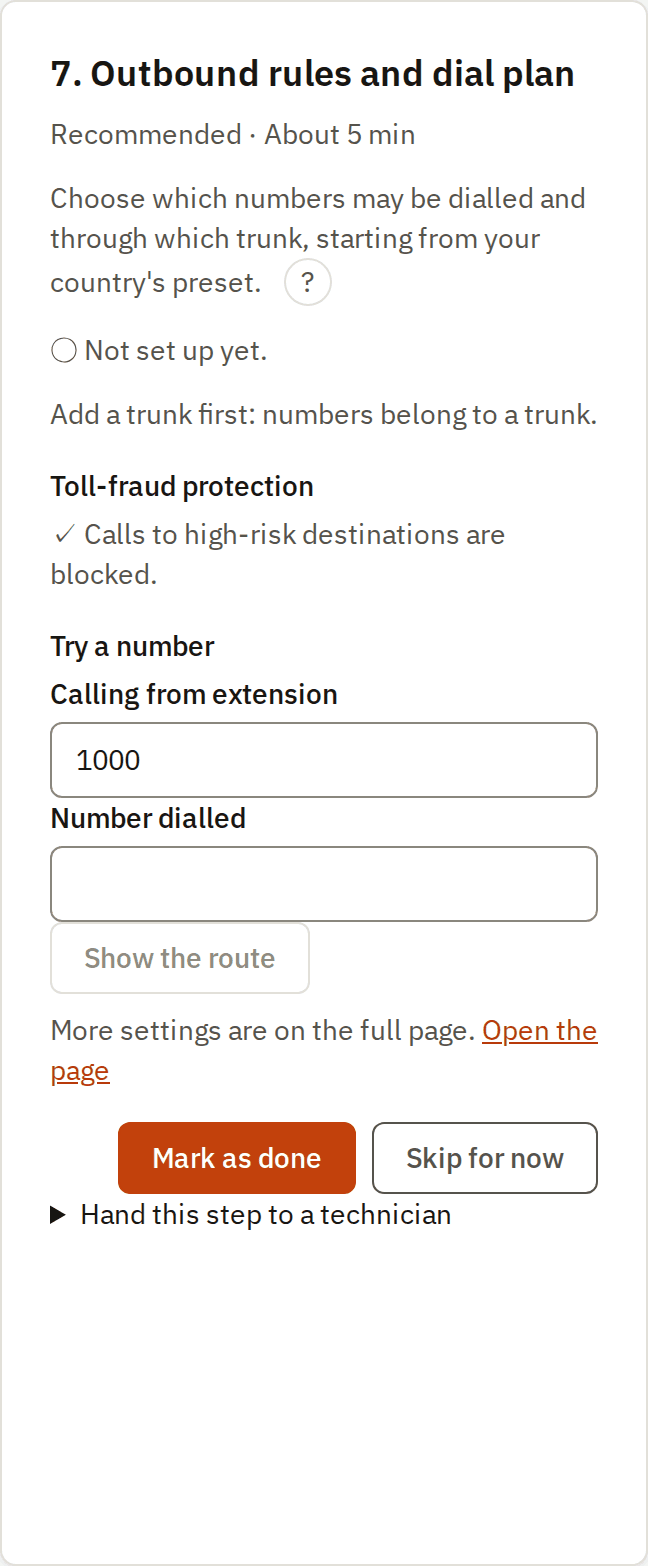
8. Inbound routing
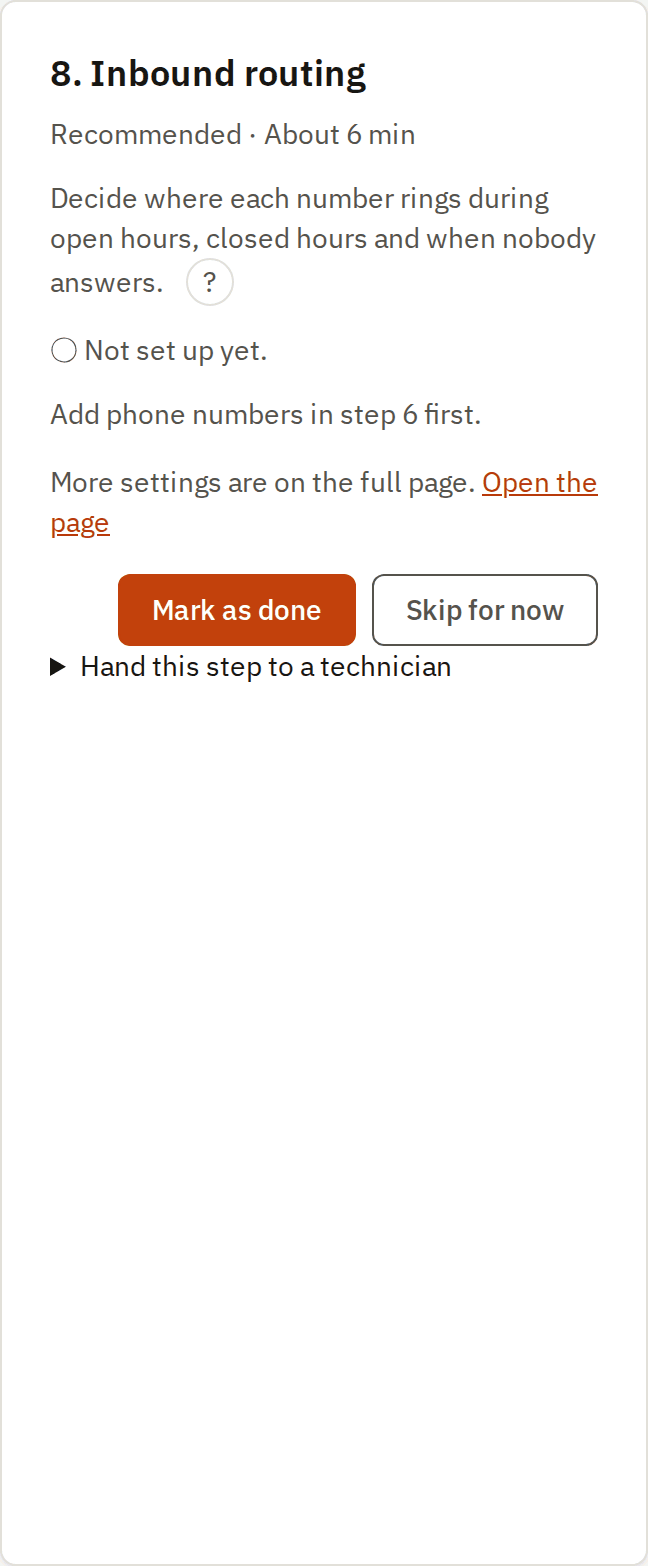
9. Users and extensions
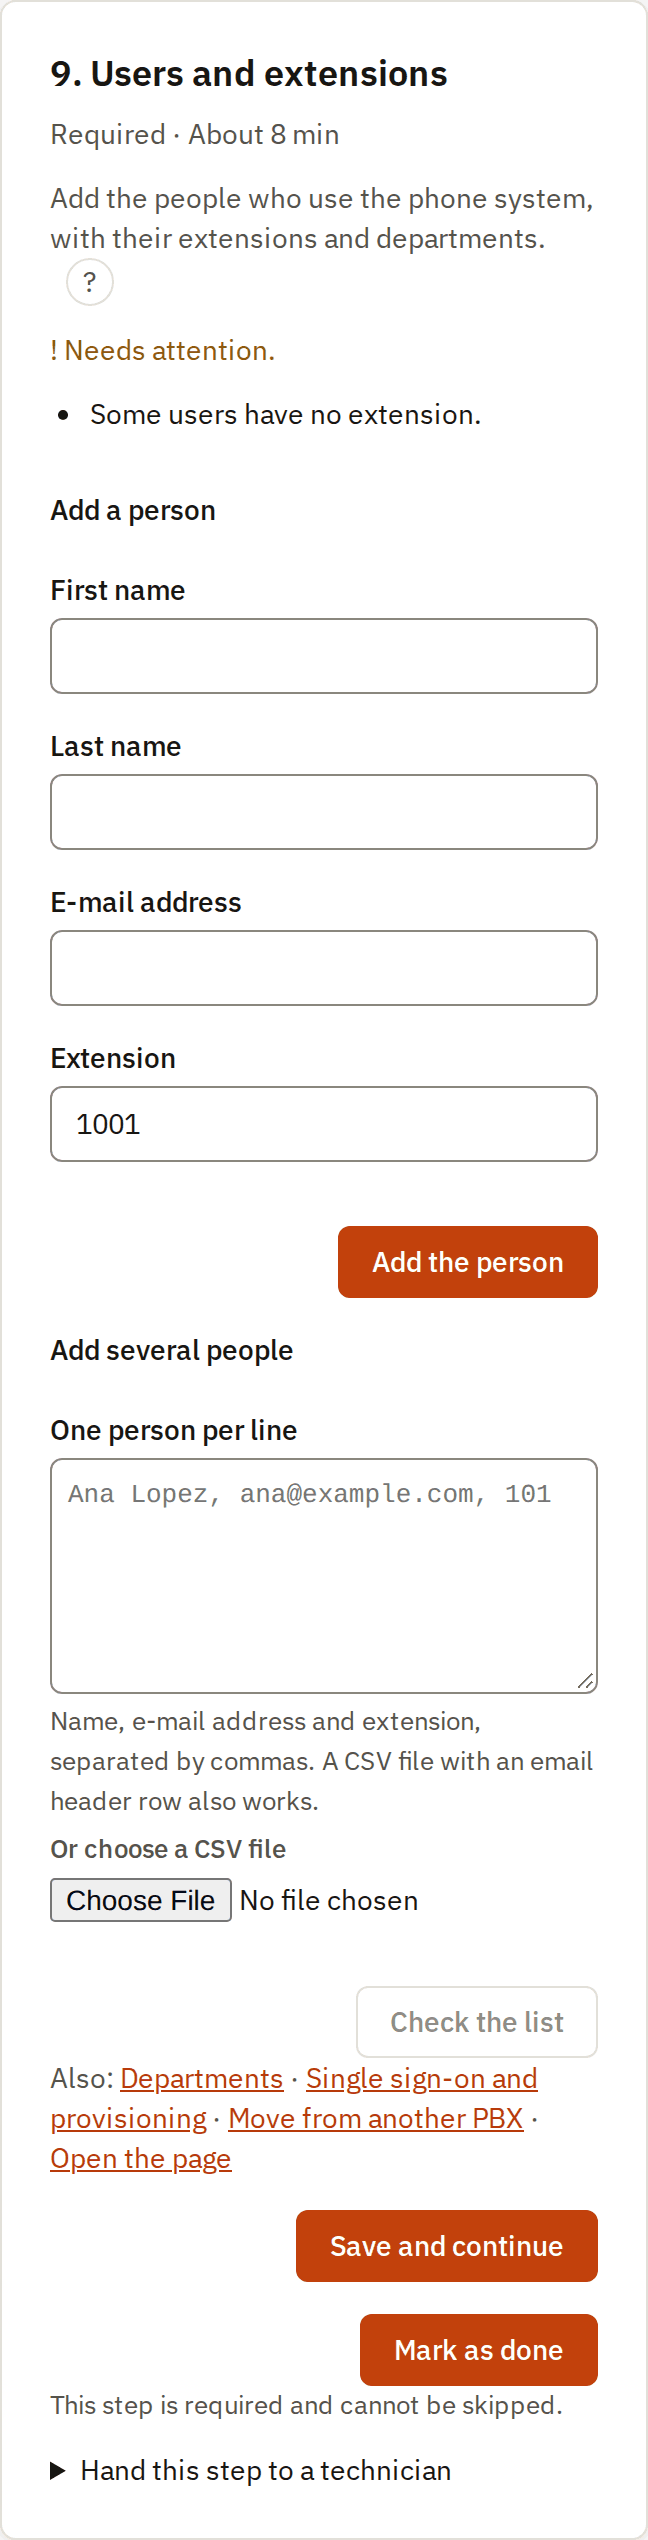
10. Phones and apps
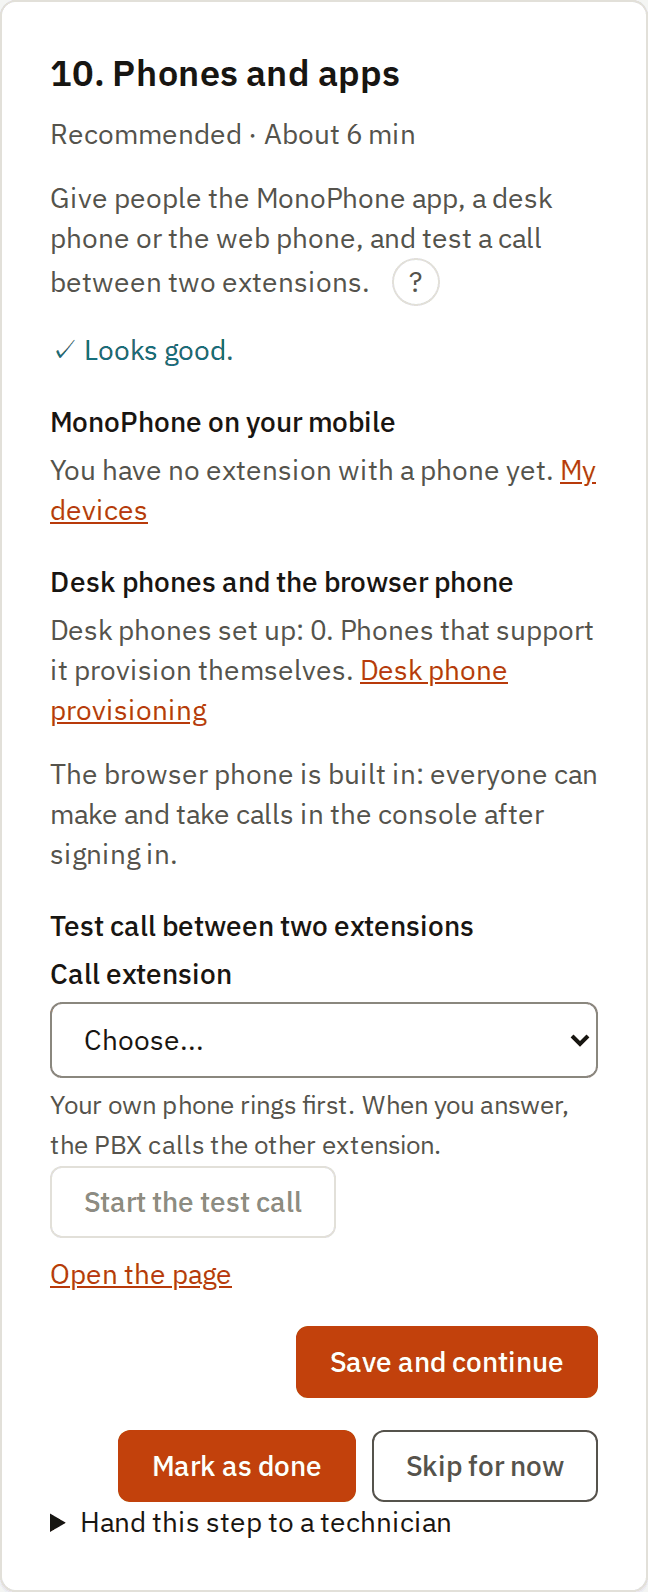
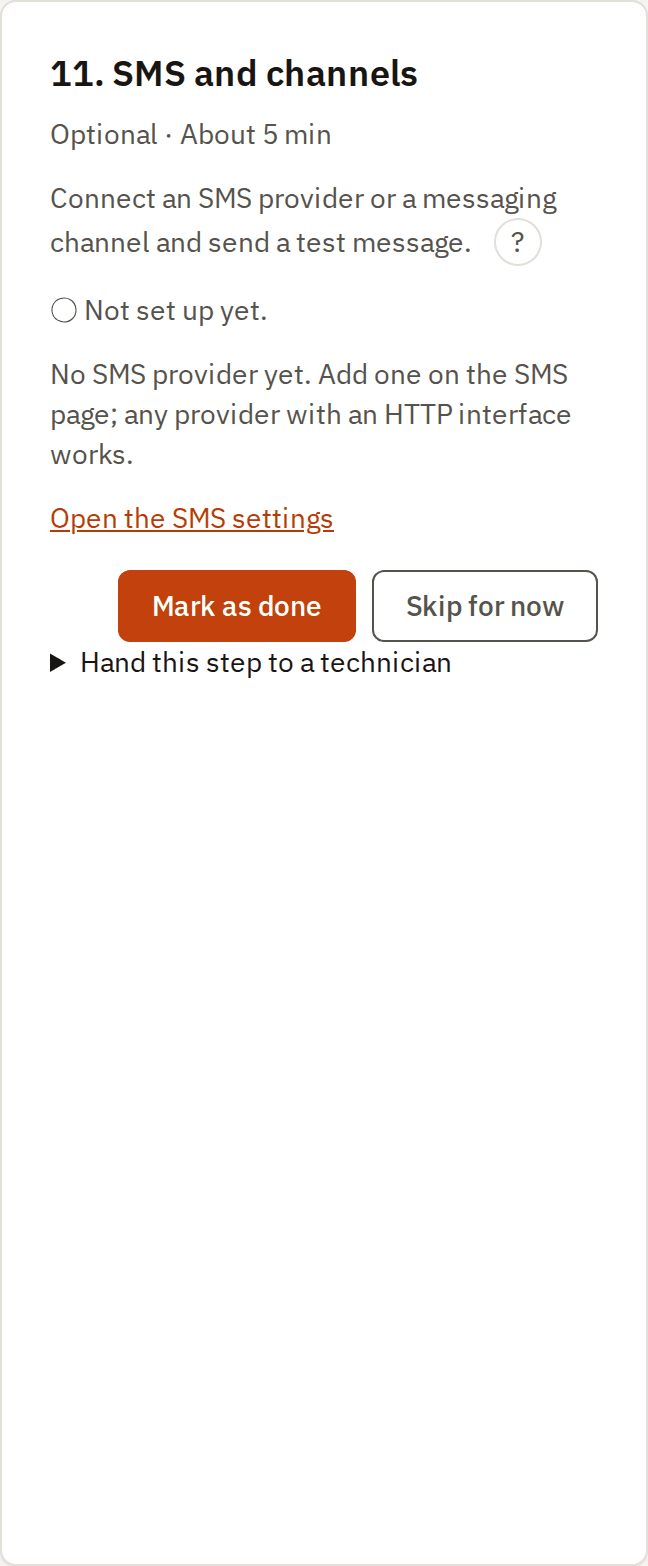
11. SMS and channels
12. E-mail

13. CRM and integrations

14. AI features
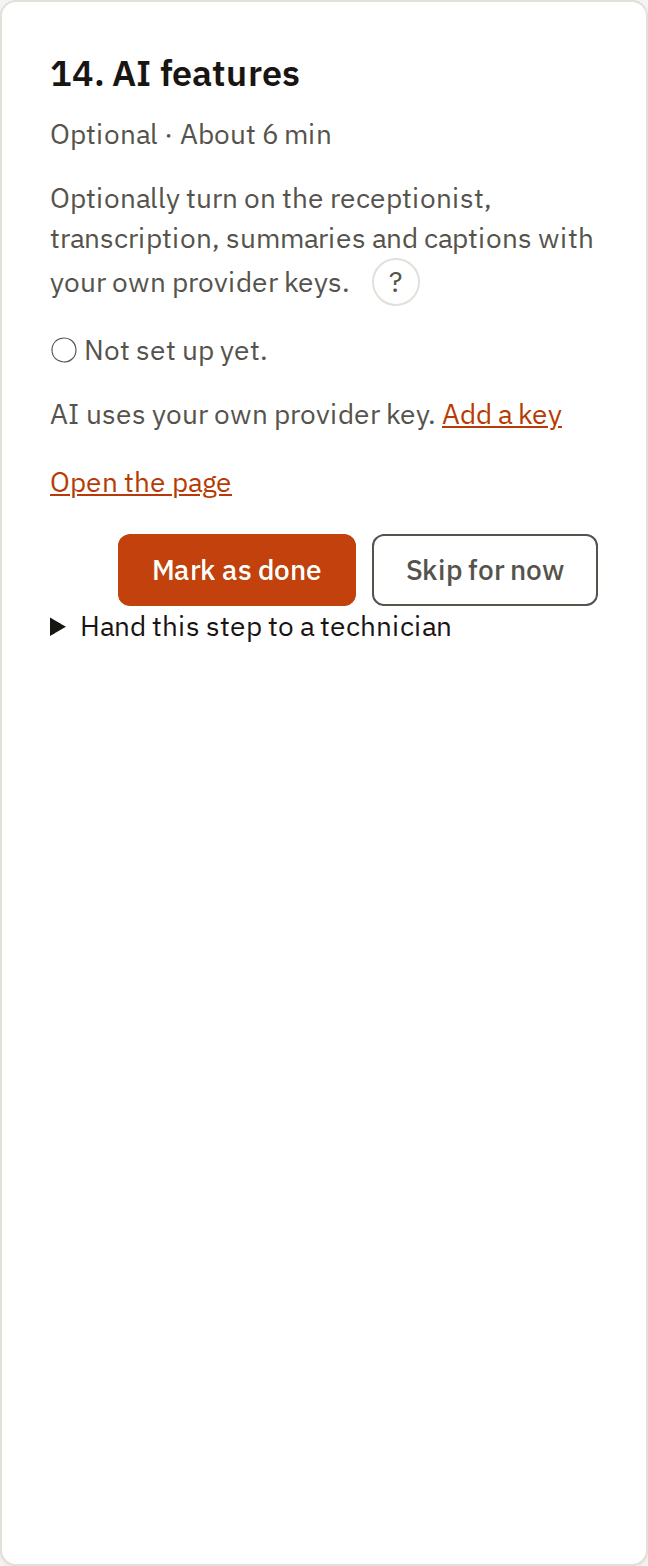
15. Recording, storage and backups
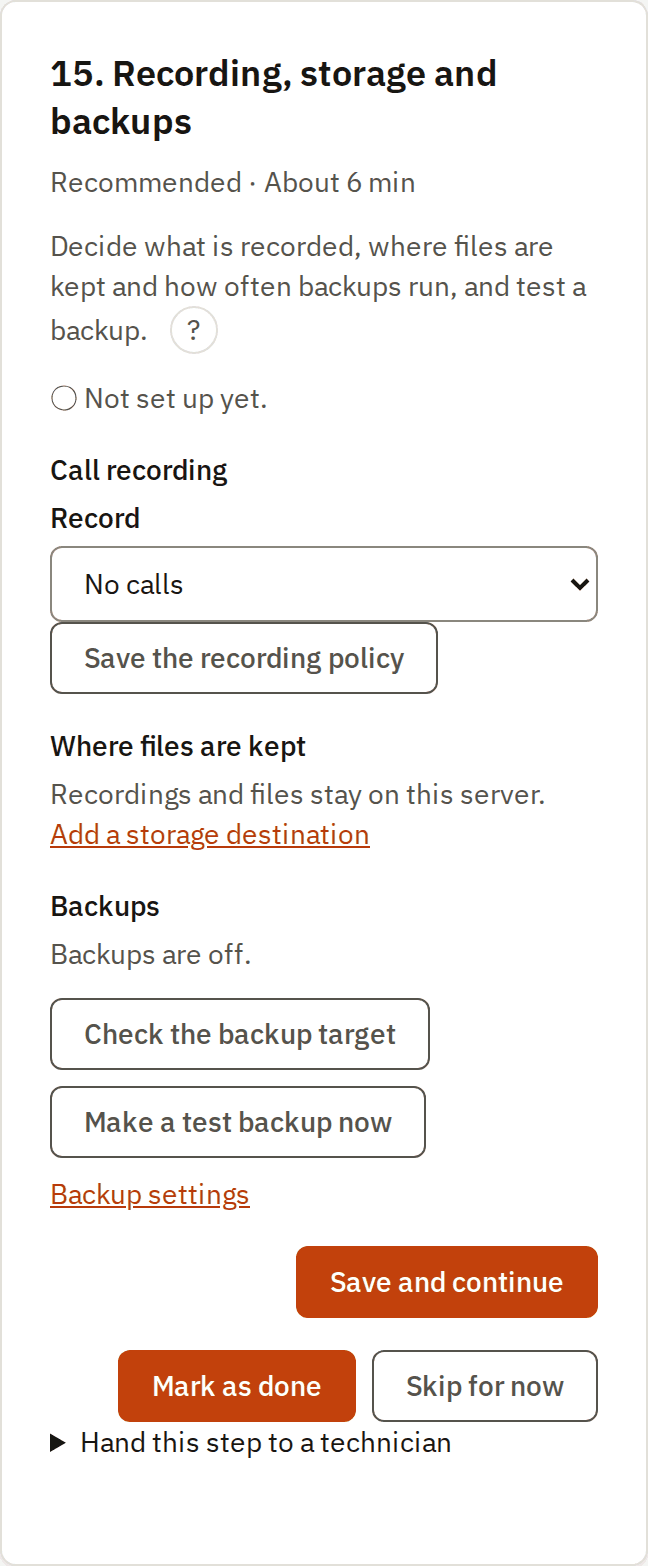
16. Security
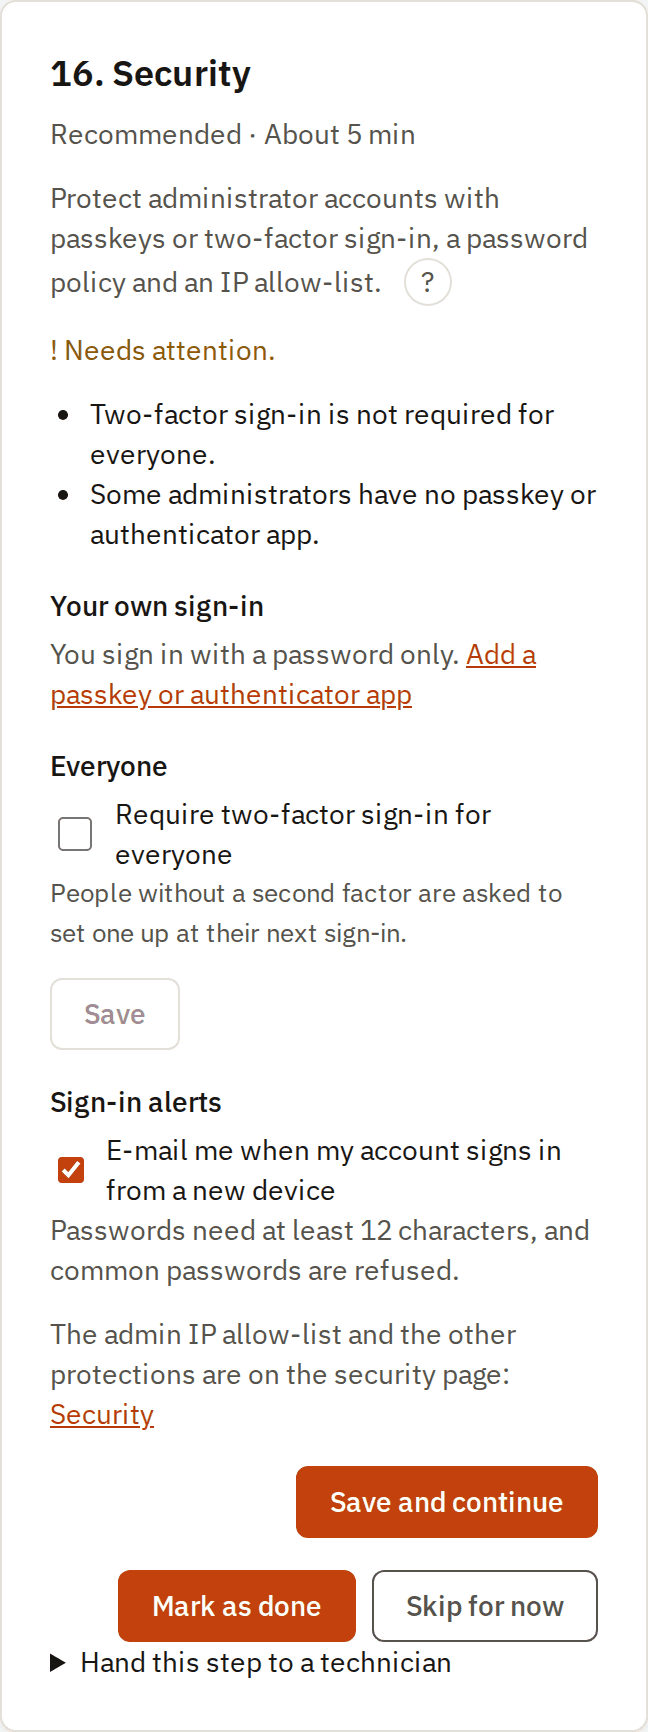
17. Invite the team
18. Final health check
Working with others
- A colleague who opens the same step sees that you are editing it; Take over replaces the marker.
- Finish this step gives a technician or a managed service provider a temporary account for one step, for 1 to 168 hours, which switches off by itself.
See the setup guide reference for every step, the templates, the technician links and the API.